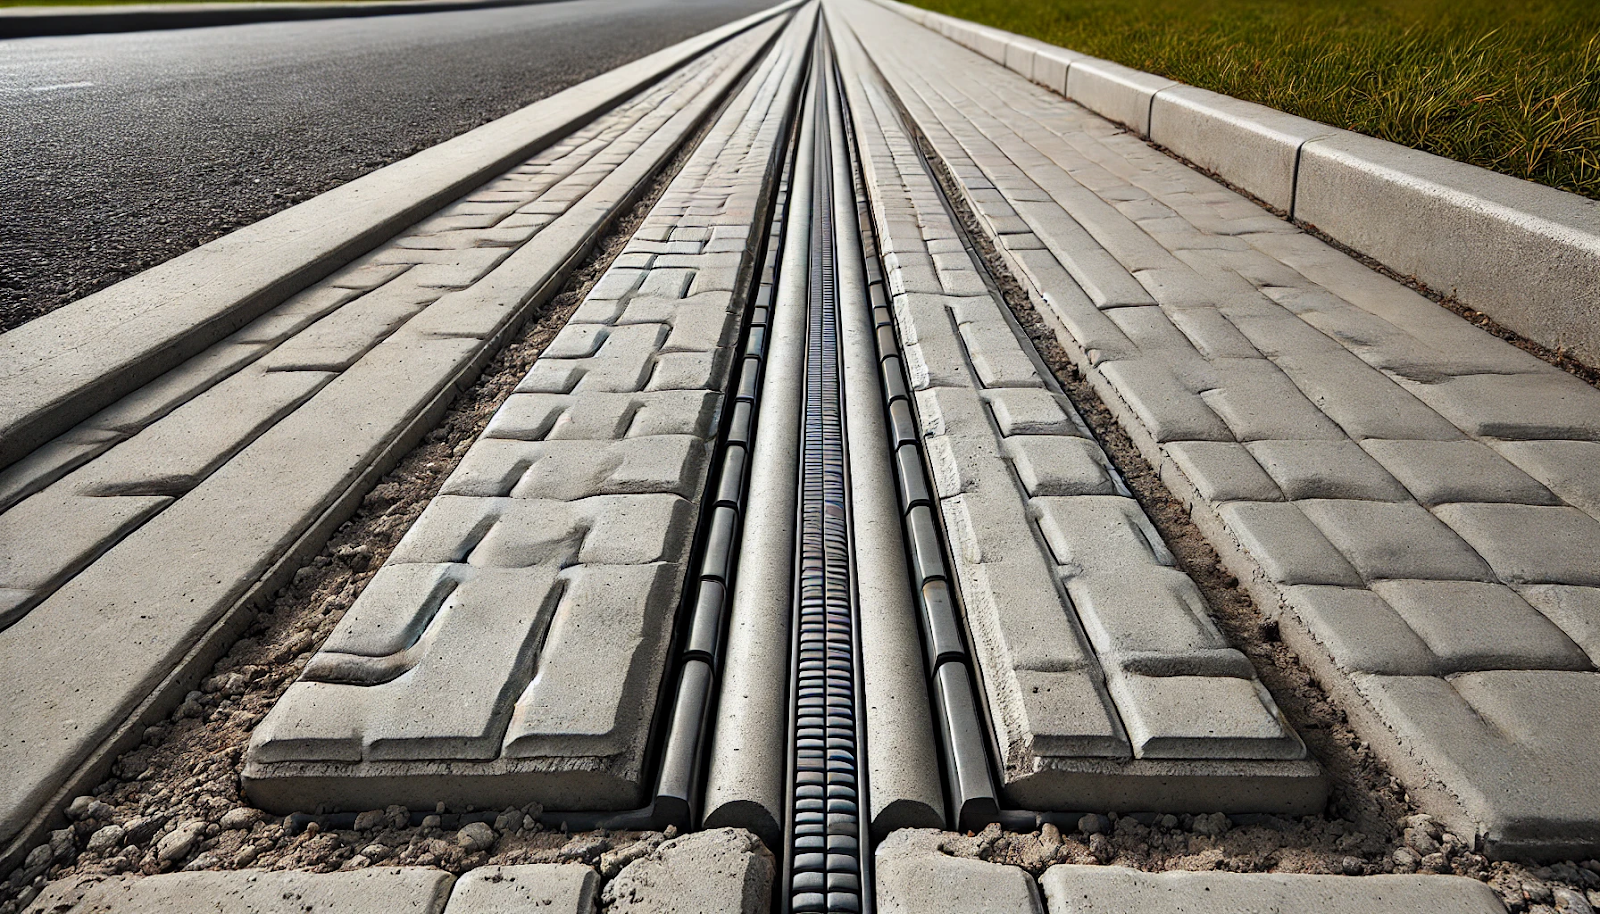
As a homeowner, you want your sidewalk to be safe and aesthetically pleasing. However, sidewalk cracks caused by expansion and contraction can create tripping hazards while detracting from your property’s curb appeal. Properly installing expansion joints during new sidewalk construction or replacement is crucial.
This comprehensive guide provides professional techniques to help you understand expansion joint spacing, load transfer, joint fillers, saw cutting and finishing for long-lasting, crack-free sidewalks. Gain the knowledge and confidence to tackle this important project yourself or oversee contractors for flawless results. With the right materials and methods, you can create durable, attractive sidewalks that withstand the elements.
Why Sidewalk Expansion Joints Crack and Fail

Improper Installation
The majority of sidewalk expansion joint failures can be traced back to improper installation. If joints are not installed correctly, cracks will inevitably form and widen over time. Expansion joints must be placed properly relative to the sidewalk’s expansion and control joints. They should bisect the sidewalk at regular intervals to accommodate movement. Joints that are spaced too far apart will not properly relieve stress, leading to cracking.
Inferior Materials
Another common reason for expansion joint failure is using low-quality materials. Sealants, backer rods, and other joint fillers must be durable and weather-resistant. Cheaper, non-reinforced options will degrade rapidly, allowing water to seep in and erode the joint. Backer rods also provide structural support, so flimsier rods can compress over time and reduce the joint’s effectiveness. For the best results, use high-quality, UV-resistant polyurethane or silicone sealants and closed-cell backer rods.
Lack of Maintenance
Expansion joints require periodic maintenance to function properly. If left unattended for too long, joints can fail for several reasons. Sealants may start to crack, tear, or pull away from sidewalk edges. Backer rods can compress significantly or even disintegrate. Debris and weeds may build up inside the joints, preventing them from opening and closing freely. It is best to inspect expansion joints at least once a year and perform necessary repairs or resealing to maximize their lifespan.
With the proper installation techniques, high-quality materials, and regular maintenance, expansion joints can last for many years and help create safe, durable sidewalks. Homeowners and contractors should follow best practices to get the most out of these important safeguards against damage and disrepair.
The Best Materials for Sidewalk Expansion Joints
Choosing the proper material for expansion joints is crucial to a sidewalk’s longevity and safety. As a sidewalk expands and contracts with temperature changes, the material in the joints must be able to withstand these forces to prevent cracking. The two most common and recommended options for homeowners are:
Polyurethane Sealant
Polyurethane is a durable, flexible sealant that can withstand significant sidewalk movement. It comes in caulk tubes for smaller joints and can be poured from buckets for larger gaps. Polyurethane adheres well to concrete and remains pliable for many years. For best results, clean and prepare the joint, fill it with a backer rod for larger gaps, and smooth the polyurethane with a putty knife or caulk tool.
Elastomeric Concrete
For high-traffic areas or where heavy equipment may cross sidewalks, elastomeric concrete is an excellent choice. It is a flexible concrete mix that contains polymer additives to improve durability and resilience. Elastomeric concrete is poured into joints and troweled smoothly, bonding strongly to adjacent slabs. It can withstand repeated compression and elongation with minimal breakdown. While more expensive than sealants, elastomeric concrete can last 20-30 years or more when properly installed.
Choosing a durable, flexible material designed for expansion joints and applying it correctly can help ensure safe, crack-free sidewalks for many years to come. Polyurethane sealants and elastomeric concrete are time-tested options trusted by professionals to keep outdoor walkways intact despite the forces of expansion and contraction. With the proper materials and installation, homeowners can rest assured that their sidewalks will provide safe passages for people of all abilities.
Proper Installation Techniques for Sidewalk Expansion Joints
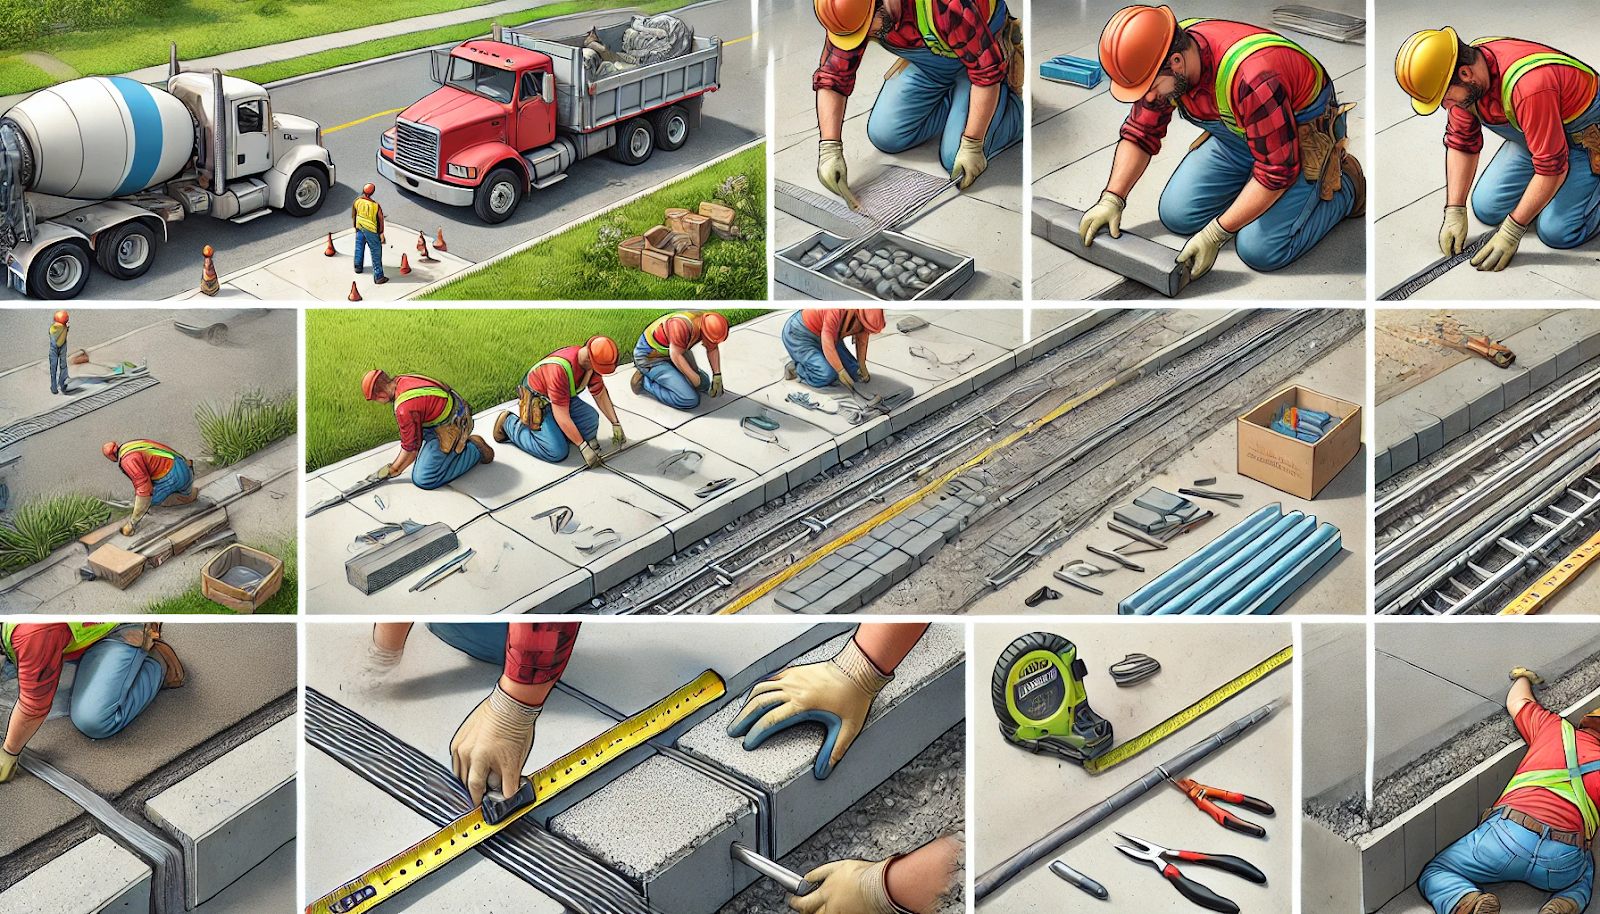
When installing expansion joints in sidewalks, it is critical to follow best practices to achieve maximum durability and prevent premature cracking.
Prepare the Area
First, ensure the area where the joint will be installed is clean and dry. Use a pressure washer to remove any dirt or debris. Check that the sidewalk sections on either side of the joint are level and even. If not, you may need to grind down any uneven areas before installation.
Select an Appropriate Joint Width
Choose an expansion joint width that matches the expected expansion and contraction of the sidewalk. For most residential sidewalks, a joint width of 1/2 inch will suffice. Wider sidewalks or those in areas with extreme temperature changes may require wider joints, up to 1 inch. It is best to follow the recommendations for your specific climate and concrete type.
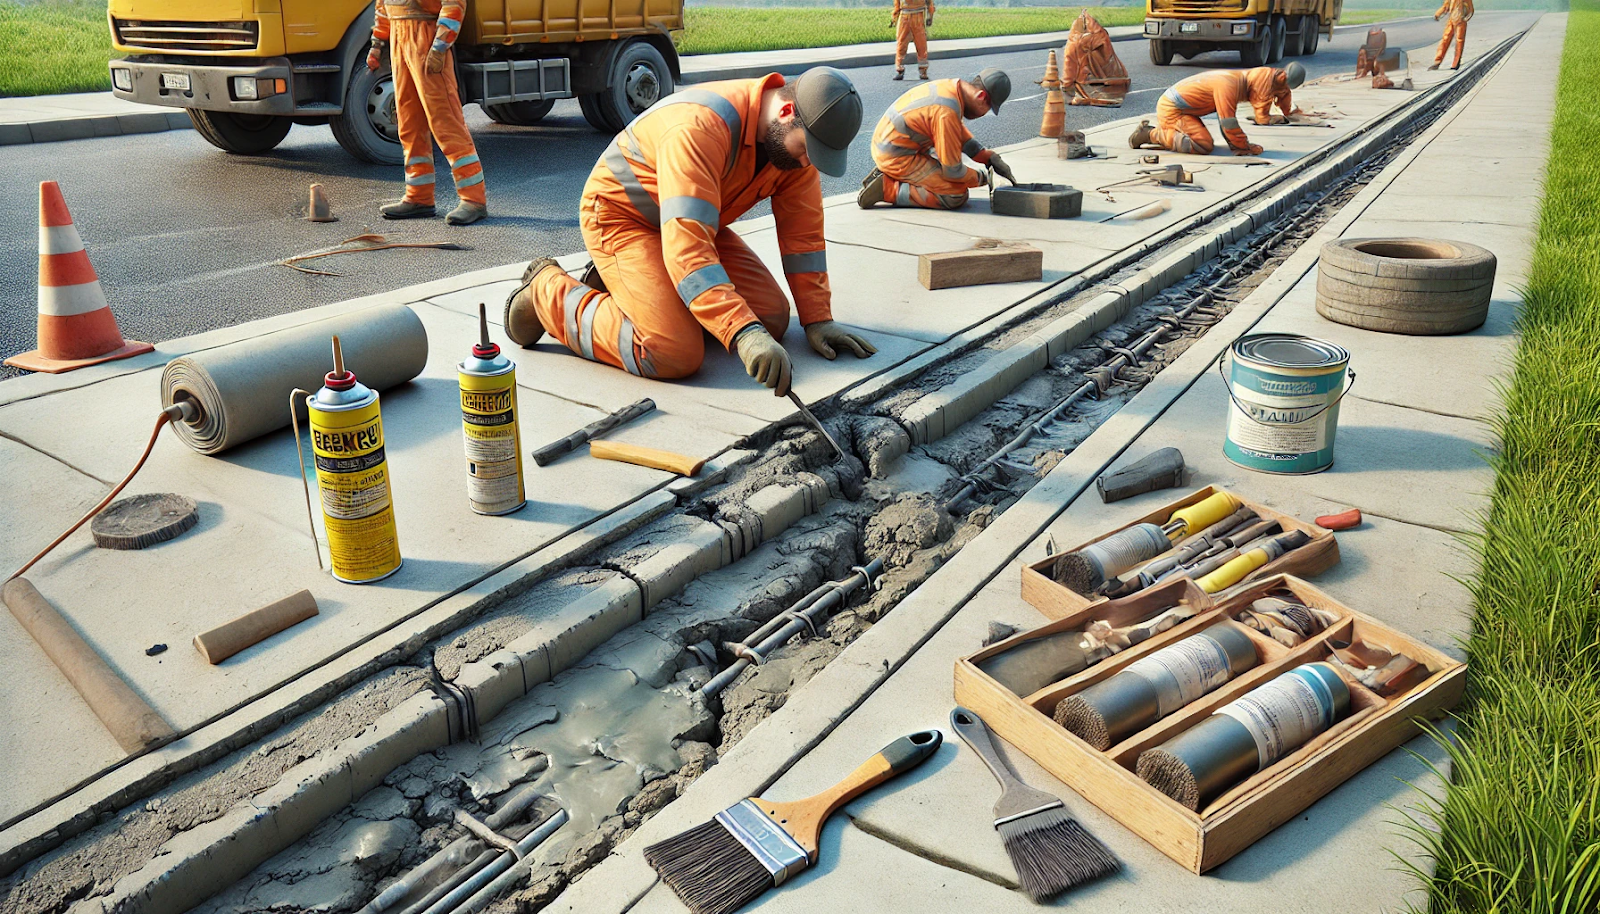
Install a Joint Filler
Place a backer rod or joint filler material in the gap to the appropriate depth and width. The filler should fit snugly in the gap to support the sealant. For most standard joints, a closed-cell foam backer rod works well. Apply a joint sealant, such as polyurethane or silicone, over the joint filler to create a flexible, waterproof seal.
Seal and Protect the Joint
After applying the sealant, smooth it out with a putty knife or similar tool so it is even with the sidewalk’s surface. The final step is to protect the new joint from the elements. Place joint covers, often made of aluminum or stainless steel, over the joint to shield it from weather, debris, and UV radiation, which can degrade the sealant.
When installed properly following these techniques, expansion joints can last for many years without cracking or leaking. To keep your sidewalk in prime condition, be sure to inspect joints annually and reseal or repair them as needed. With the right installation and maintenance, durable, crack-free sidewalks are within your reach.
Maintaining and Repairing Your Sidewalk Expansion Joints
Inspect Expansion Joints Regularly
As a homeowner, it is prudent to inspect your sidewalk expansion joints regularly to ensure structural integrity and safety. Examine the joints for any signs of deterioration or damage, such as cracks, spalling, or offset edges. If ignored, minor damage can worsen over time and lead to trip hazards, pooling water, or complete joint failure. It is best to conduct inspections during dry weather when joints are most visible.
Clean Expansion Joints
Debris, dirt, and vegetation trapped in expansion joints can accelerate damage and prevent joints from functioning properly. Use a pressure washer on a low setting, industrial vacuum, or wire brush to remove built-up sediment and plant growth from joints. For narrow joints, you may need to use a putty knife or similar tool to scrape out compacted material. Thoroughly cleaning joints helps prevent pooling water and extends the lifespan.
Seal or Repair Damage
If inspections reveal minor to moderate damage, it is best to seal or repair joints to prevent further deterioration. For minor cracks or spalling, apply a concrete sealant, caulk, or epoxy designed for expansion joints. For more significant damage, you may need to route out the damaged area and install a backer rod and sealant or replace the joint altogether. It is best to consult an expert to determine the appropriate solution based on the type and extent of damage.
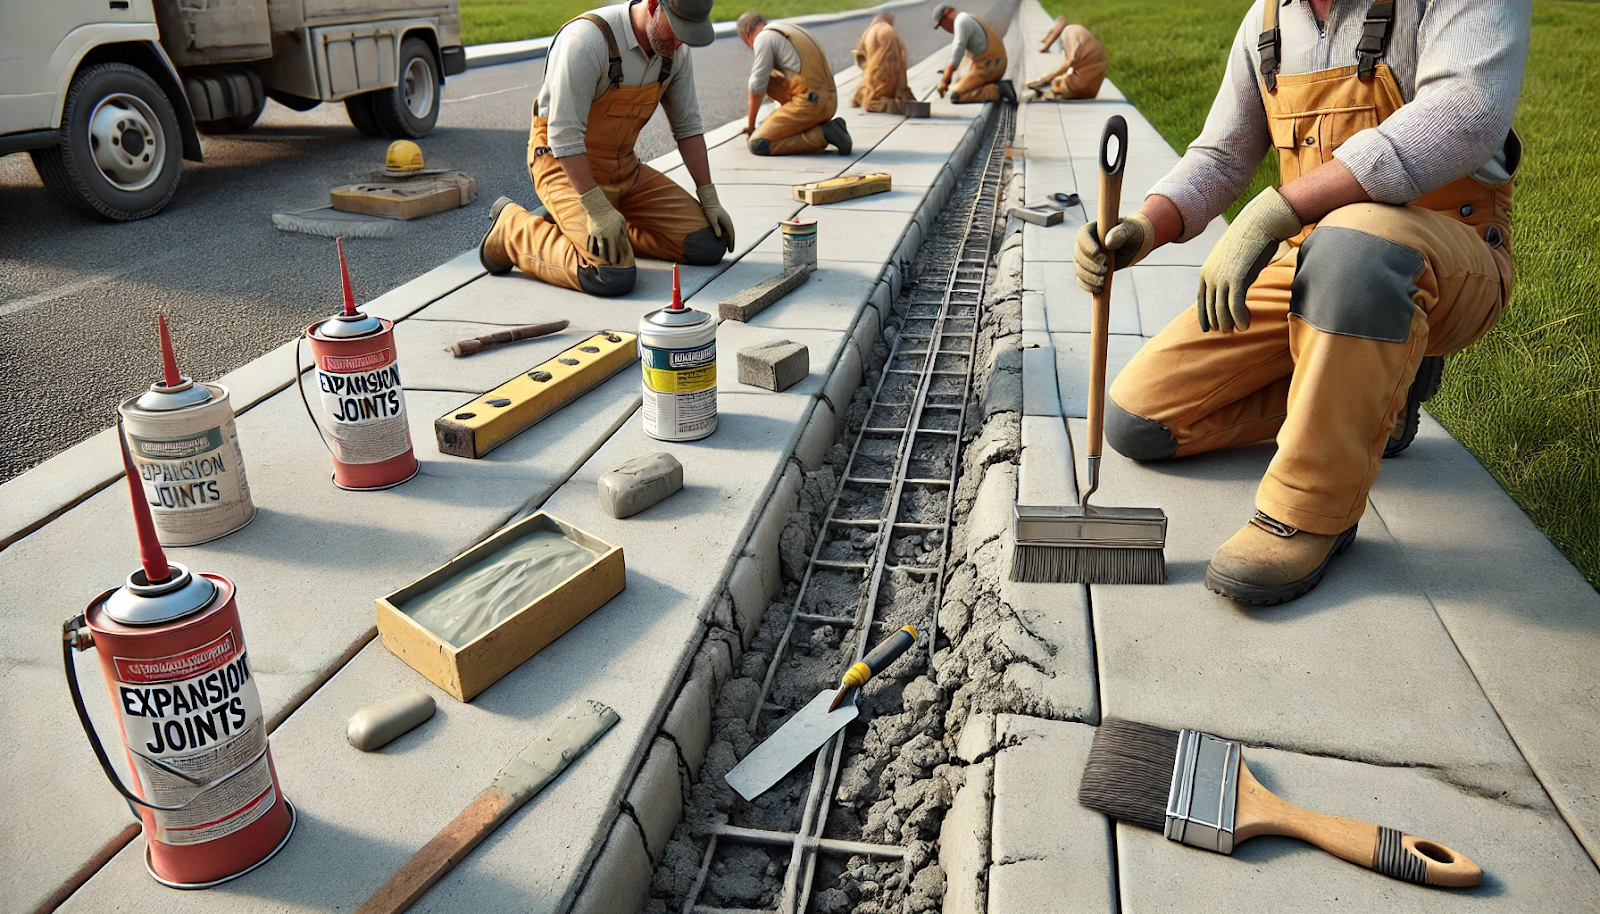
Replace Deteriorated Joints
In some cases, the only option is complete joint replacement. If joints are severely damaged, offset, or no longer functioning, they need to be saw cut out and replaced. Joint replacement requires removing a section of the existing sidewalk, installing backer rods and sealant, and pouring new concrete to match the elevation and texture of adjacent slabs. Due to the complexity, it is best to hire a professional concrete contractor to replace damaged expansion joints.
With regular maintenance and timely repairs, homeowners can extend the service life of sidewalk expansion joints and ensure safe, accessible walkways for years to come. Keeping joints clear, sealed, and properly functioning is a small investment that pays big dividends.
Conclusion
In summary, proper sidewalk expansion joint installation is crucial for preventing cracks and damage. By using the right materials, spacing, and techniques outlined here, you can achieve long-lasting, attractive sidewalks that withstand freeze-thaw cycles. While this guide provides the key considerations and steps needed for proper expansion joint installation, we at Rhino Concrete Danville are here to help. Our experienced team can handle this project for you, ensuring professional results and saving you time and potential costly repairs down the road. Whether you’re a homeowner looking for expert assistance or a contractor seeking support, Rhino Concrete Danville has the knowledge and skills to get your sidewalk expansion joints done right. Contact us today to learn how we can help with your concrete needs.
FAQs
Does my sidewalk need expansion joints?
Yes, your sidewalk needs expansion joints to accommodate the natural expansion and contraction of concrete due to temperature changes. Without these joints, the concrete is more likely to crack as it expands and contracts.
What are the joints for in a sidewalk?
Joints in a sidewalk control cracking by allowing the concrete to expand and contract without causing damage. They help manage the natural stresses and movements within the concrete, ensuring a longer-lasting and more durable sidewalk.
How far to space control joints in a sidewalk?
Control joints in a sidewalk should generally be spaced at intervals equal to the width of the sidewalk but no more than 5 feet apart. For example, if the sidewalk is 4 feet wide, place the control joints every 4 feet.
What is the spacing for expansion joints in concrete pavement?
Expansion joints in concrete pavement should be placed every 10 to 20 feet, depending on the climate and specific project requirements. These joints help accommodate larger movements in the concrete due to temperature fluctuations.
What is the minimum distance between expansion joints?
The minimum distance between expansion joints in concrete is typically about 10 feet. However, this can vary depending on the project’s specific conditions and requirements.